


Choose Your Hanging Strategy
As STAS, expert in picture hanging, we would like to emphasize that it is crucial to carefully consider several factors before you start hanging pictures. Establish a clear strategy before you randomly start hanging pictures. Factors to consider include:
Wall Type
 Drywall: Drywall is the most common type of wall in homes and offices. To install a picture hanging rail on drywall, you will need to use STAS drywall anchors, special mounting material that provide a secure hold.
Concrete: Concrete is a very strong type of wall. To install a picture hanging rail on concrete, you will need to use concrete screws. Concrete screws are designed to drill into concrete and provide a secure hold.
Brick: Brick is another strong type of wall. To install a picture hanging rail on brick, you will need to use masonry screws. Masonry screws are designed to drill into brick and provide a secure hold.
Wood: Wood is a relatively easy type of wall to install picture hanging rails on. To install a picture hanging rail on wood, you can simply use wood screws.
Plaster: Plaster is a type of wall that is made from a mixture of lime, gypsum, and sand. To install a picture hanging rail on a plaster wall, you will need to use special plaster wall anchors.
Weight Considerations
To consider the weight of a picture when using a STAS picture hanging system, you need to know the weight capacity of the rail of your choice and the weight of the picture. You can find the weight capacity of the system in for each STAS rail type in the product information.
Optimal Hanging Height
A simple rule of thumb to hanging art at the right height is to place the center of the art object at 60″ to 63″ above the floor. From there you can adjust accordingly for the overall height of the ceiling or height of the furniture over which the art will hang. Read more about the ideal height to hang pictures.
Multiple Picture Arrangement
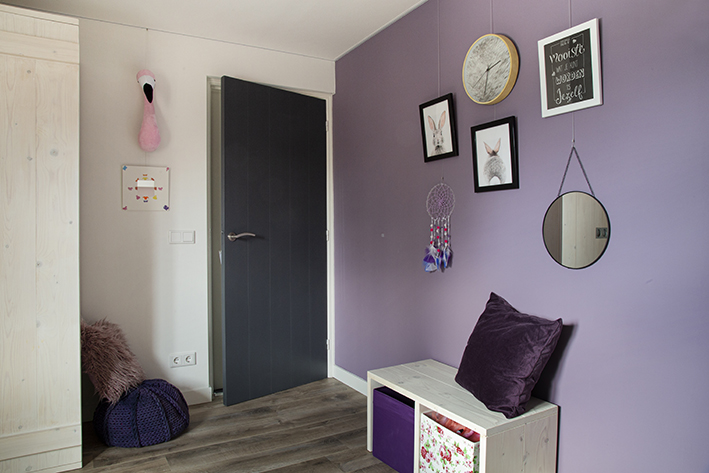
Creating a gallery wall is a unique way to add a bit of your personality to your home interior. STAS reveals techniques to arrange and make changes to the layout of your gallery wall anytime you like.
Choice of Hanging Hardware
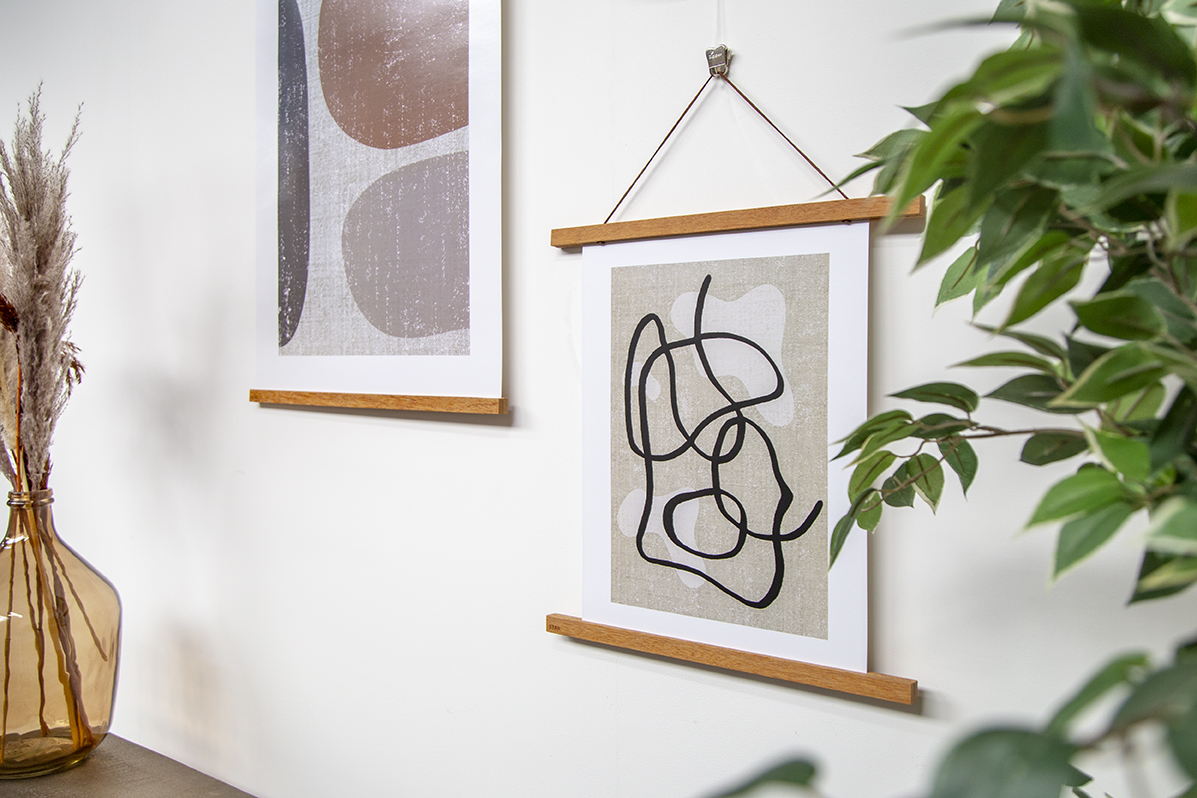
Picture hooks are designed to hang pictures on picture rails. They come in a variety of sizes and weights, so you can choose the right ones for your picture. Cords or wires are used to connect the picture hooks to the picture rail. You can use any type of cord or wire that is strong enough to support the weight of your picture. We also offer hardware to attach to your frame and securely hang any picture.
Step-by-Step Guide to Hanging a Photo
STAS has an easy step-by-step plan for hanging photos:
Step 1: Choose the Right Location
Before you start, select the perfect spot for your frame(s). Consider factors like eye level, lighting, and the surrounding decor. Once you've chosen the location, determine the exact placement of your photo within that space.
Step 2: Gather Your Tools and Materials
 To hang a photo with a picture hanging rail, you'll need the following tools and materials:
- Picture hanging rail: Ensure it's the appropriate length for your wall, or cut it to size.
- Mounting material: This comes with the rail you ordered.
- Measuring tape
- Pencil
- Level
- Screwdriver or drill
- Drilling template (supplied with your rail)
- STAS cords and hooks as many as you need
- The photo or artwork you want to hang
Step 3: Install Picture Hanging Rail
Mount the picture hanging rail to the wall, following the installation manual or -video. Secure the rail screws and clips to the wall at the marked points using screws and a drill. Make sure they are level and securely fastened. If your rail requires additional wall anchors, drill holes for the plugs at the marked points, insert the plugs, and then attach the rail screws into the plugs. Mount the rail onto the railclips according to the rail's instructions.
Step 4: Measure and Mark
Use your measuring tape to measure the desired distance from the floor to where you want to hang your photo. Standard eye level is around 57-60 inches (145-152 cm) from the floor, but adjust it as needed for your specific location. Measure the width of your photo and find its center. Mark the center point on the wall at the desired height. Use a pencil to make a light mark. Use a level to ensure your marks are straight and aligned correctly.
Step 5: Hang the Picture
 With the picture hanging rail securely in place, it's time to hang your photo. Hook the cord(s) in the rail at the desired spot and slide the STAS zipper or smartspring hook over the cord. If your frame has hanging hardware, hang them directly from the hook(s). Use your level to ensure the photo is straight, and make any necessary adjustments. Step back and admire your perfectly hung photo! Remember that the choice of location and height is crucial for achieving the desired visual effect, so take your time during the planning and measuring stages. With the right tools and careful execution, your photo will enhance your space and stay securely in place.
Hanging a Heavy Picture
The best way to hang a heavy picture when using a picture rail system is to use two or more picture hooks. This will help to distribute the weight of the picture evenly and prevent it from falling. Be careful not to overload the picture rail system. The maximum weight capacity of the picture rail system will vary depending on the type of system and the way it is installed.
How to hang pictures straight
Here are some tips to hang pictures straight:
Use a level: Make sure that the picture rail system is level before you start hanging your pictures.
Mark the location of the picture hooks on the picture: Use a pencil and a level to mark the location of the picture hooks on the back of the picture.
Attach the picture hooks to the picture: Make sure that the picture hooks are attached evenly and securely.
Use cords to hang the picture from the picture rail system: Adjust the cords until the picture is level and centered on the wall.
Use STAS spacers: Ideal for hanging your frames at perfect distance from the wall. Adhesive, easy to apply to the back of your list. Made of soft material, preventing from damage to your wall.
Alternatives to Hammers and Nails
 Picture frames seem to have been created with nails in mind. But as long as the frame has got some sort of hanger or wire, you could hang it on any sort of hook. And here’s the thing: that hook doesn’t have to be a nail. That hook doesn’t even have to damage your walls. Picture rail systems are a great way to hang pictures without damaging your walls. They consist of an aluminum rail that is mounted to the wall. The cords with hooks can be moved anywhere on the rail, making it easy to reposition your pictures. The age old problem: hanging pictures damages your walls. Do you dread hanging art because you need to get it right in one try? You don’t want to turn your wall into a sieve? Don’t despair: there are lots of ways to hang pictures without nails.
Hanging pictures with wire
To hang a picture with a wire, you will need a picture hook, a level, and a pencil. Mark the location of the picture hook on the wall using a level. Attach the picture wire to the picture hook, then hang the picture on the wall by looping the wire over the STAS zipper or smartspring. Finally, adjust the wire until the picture is level.
Enhance Your Photos with Lighting
Led art lighting doesn’t have to cost a lot. In fact, the led art lights by STAS will help you save money. STAS offers led fixtures that will not damage your wall, ceiling or frame and that can be moved without tools or drilling holes. That’s because STAS offers led art lighting integrated in hanging systems.